
Camshaft Bush Modification
There’s a wealth of information in books and on the internet on modifying and improving all aspects of the Austin Seven and you could argue we don’t need technical articles on something that’s already out there; wherever ‘out there’ is. But do we ever read of anyone’s experience of tackling a particular modification? Here’s how I got on with my front camshaft bush.
With ‘Doc’ Spearman’s help I’m slowly rebuilding my engine and learning a lot in the process. When it came to replacing the camshaft it was necessary to get the required clearance between the timing gear and the bronze bush, stated in workshop manuals as 0.002” (2 thousandth of an inch). You can measure this at either end of the bush, whichever is easiest. Either hold the camshaft in a soft-jawed vice or the gear wheel itself, and with the bush in place tighten the gear on to the taper with a decent length ring spanner or socket and measure the gap. As tight as I could get it, the gap was still nearly 10 thou. You could try and force it on further with an air wrench but my opinion here is that it then becomes too difficult to remove. The answer is to very carefully lap the gear on to the taper with fine grinding paste and try again. Only do a small amount at a time or you’ll risk driving it too far up the taper and have to machine the back of the gear. The photo shows a feeler gauge in place. 
If you try the locating peg in the hole in the bush you’ll invariably discover it’s a sloppy fit, undoing all that careful work ensuring the correct clearance – the whole bush and the camshaft will move about and contribute to the sound of rumbling gears. Here’s where the modification comes in.
Once you have the right clearance, install the assembled camshaft in the crankcase. The later engines have a split bronze bush for the centre support, rather than individual rollers, making this a very simple job. Hold the two halves of the bush on the camshaft with an elastic band.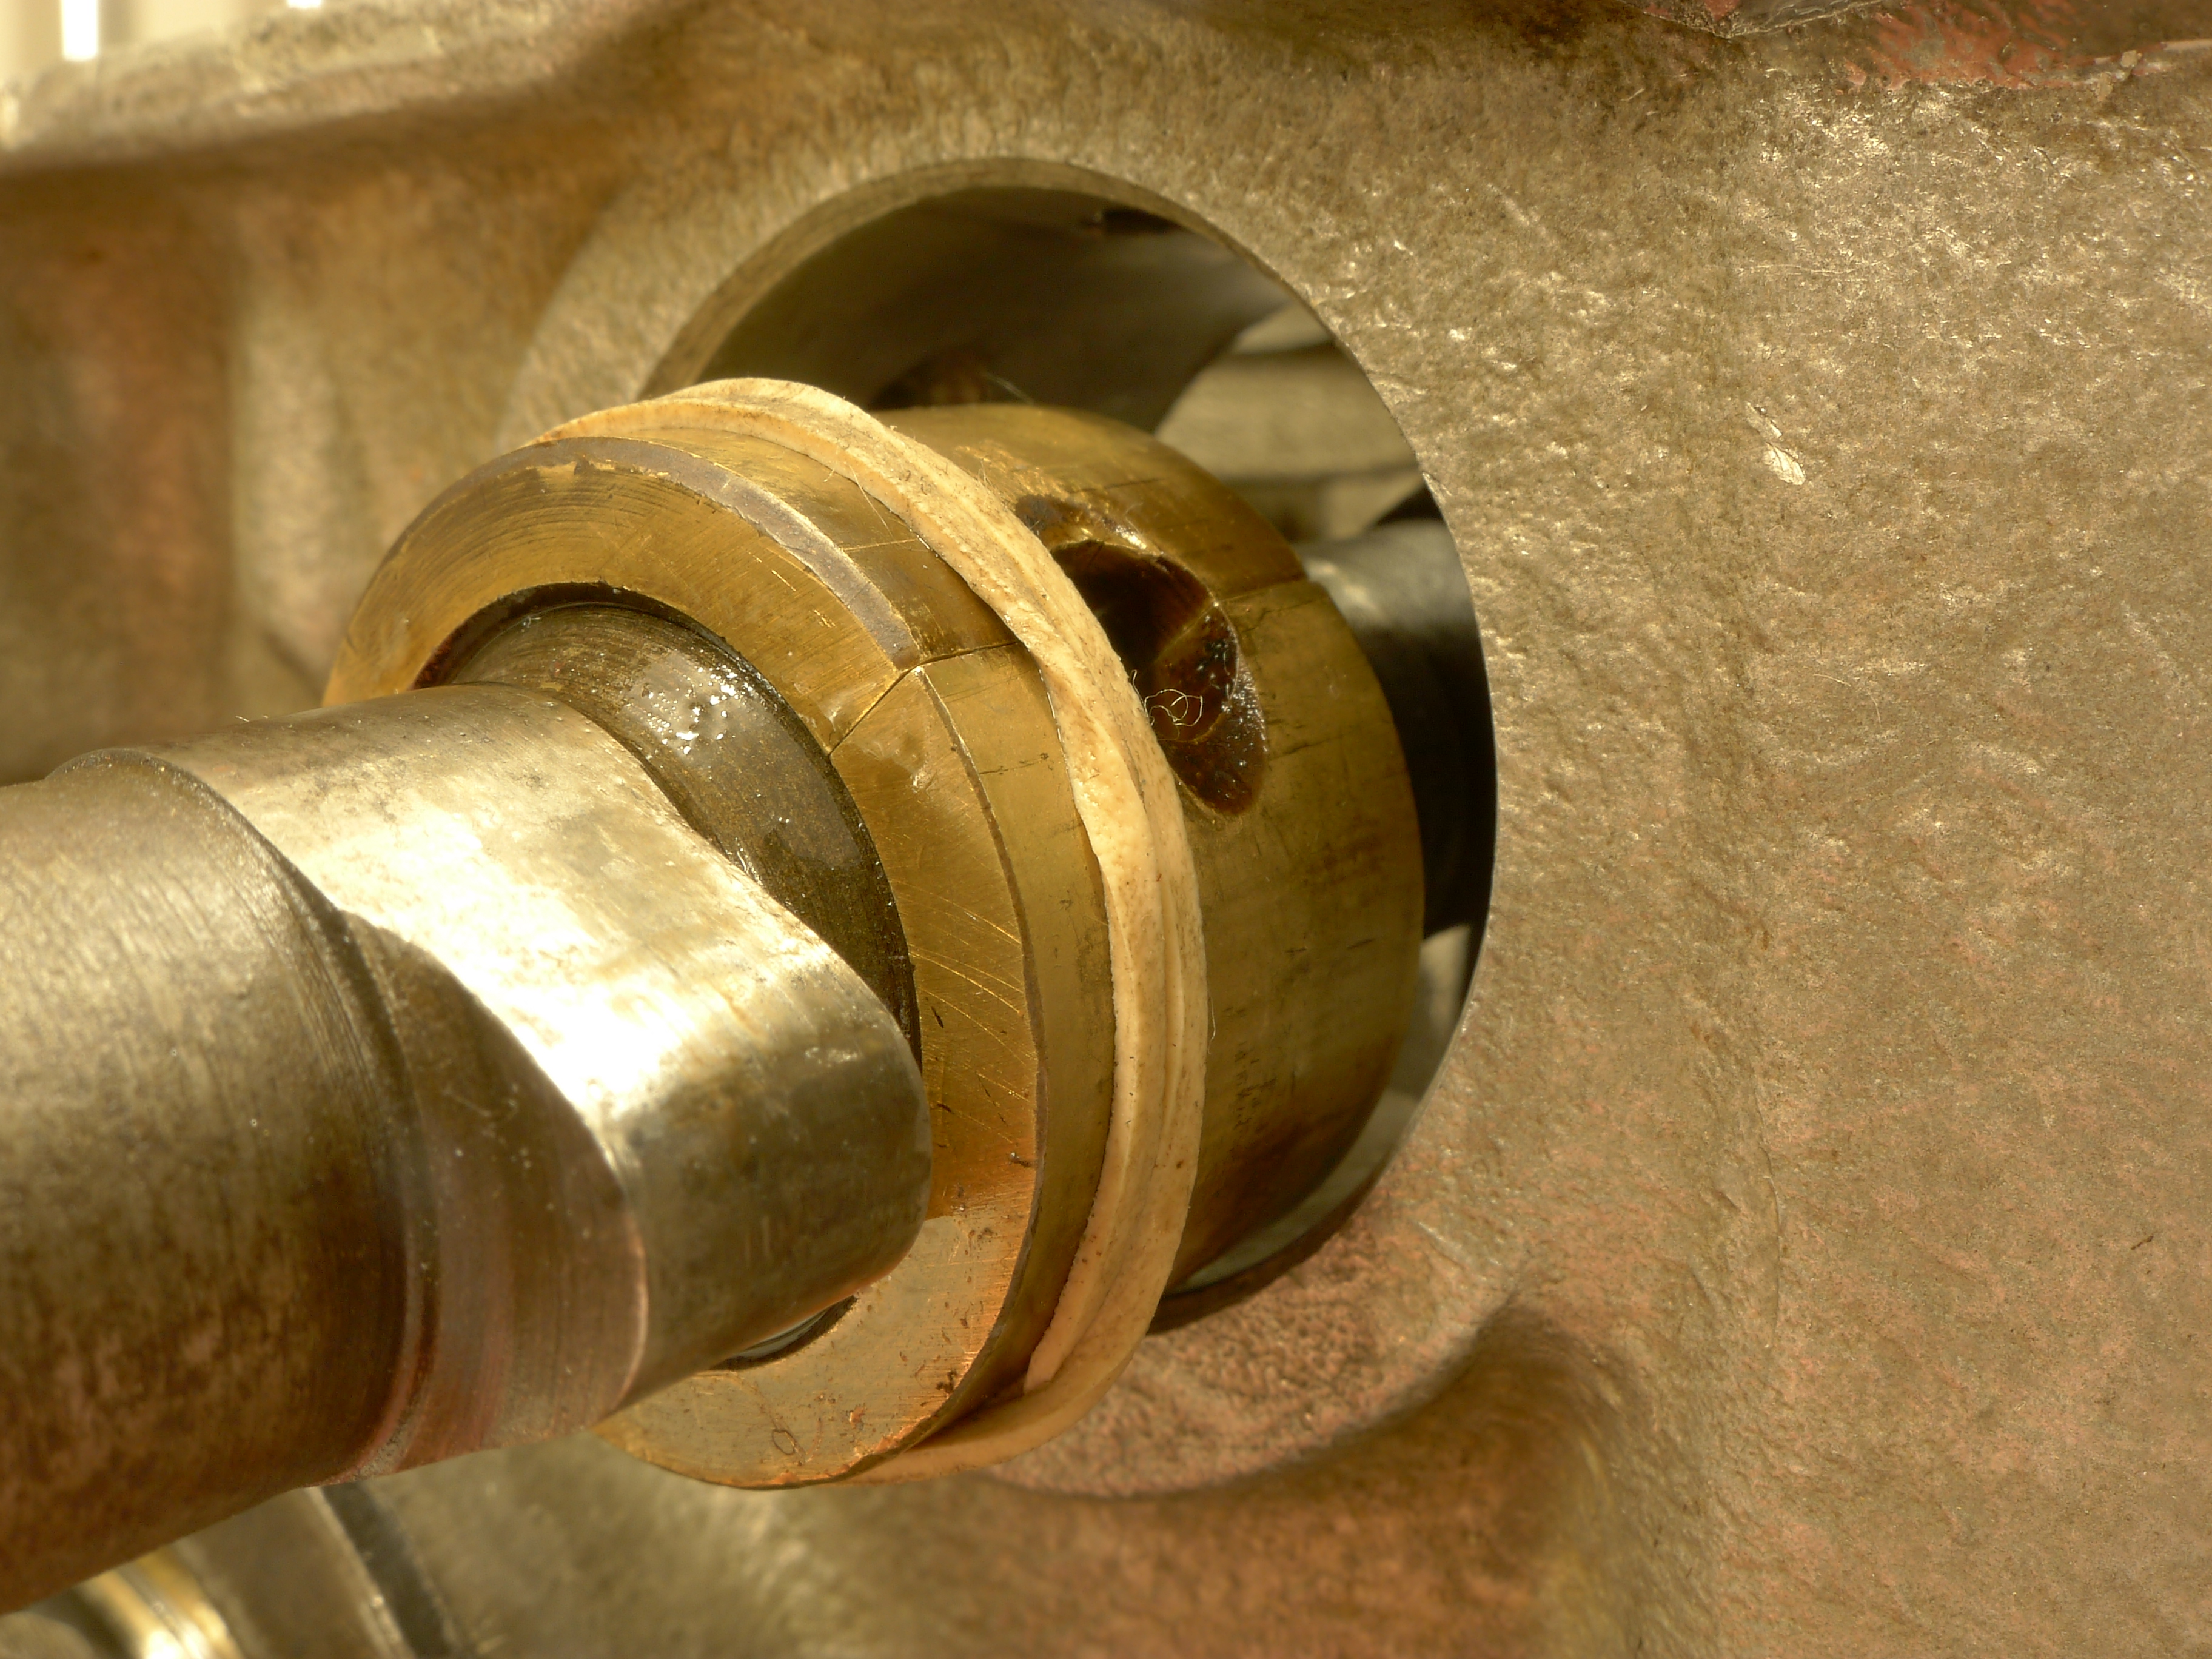
As you slide it through its housing the band is simply forced off. Before it’s fully home you can push the flat mating ends of the bush round with a screwdriver so that the oil hole and mating peg line up.
Keep an eye on the front bush to make sure the hole for the locating peg is lined up before pushing the camshaft in. (Don’t confuse it with the oil hole.) The timing gears should be flush with each other when the hole is lined up. Assuming you have a good thread in the crankcase where the locating peg fits (5/16 BSF), select a suitable tapping drill (I used 7mm) and keeping the drill square to the crankcase face, slowly drill about two thirds of the way through the bush taking care not to touch the threads in the alloy crankcase. If you can set up a bench drill for this operation so much the better.
Now remove the camshaft and timing gear and slide the bush off. Finish drilling through the bush nice and square and then replace only the bush in the housing. Use the drill bit to then exactly line up the hole with the thread. Using a 5/16 BSF tap, run through the existing thread and into the bush itself creating in effect a continuous thread.
The next stage is to select a suitable 5/16 BSF bolt. I made a customized one by welding a 1/8” thick washer to the underside of the bolt head. This was then turned down in diameter so that it would just clear the cylinder block when in situ. I then filed the head to take a 1/4” Whitworth ring spanner. 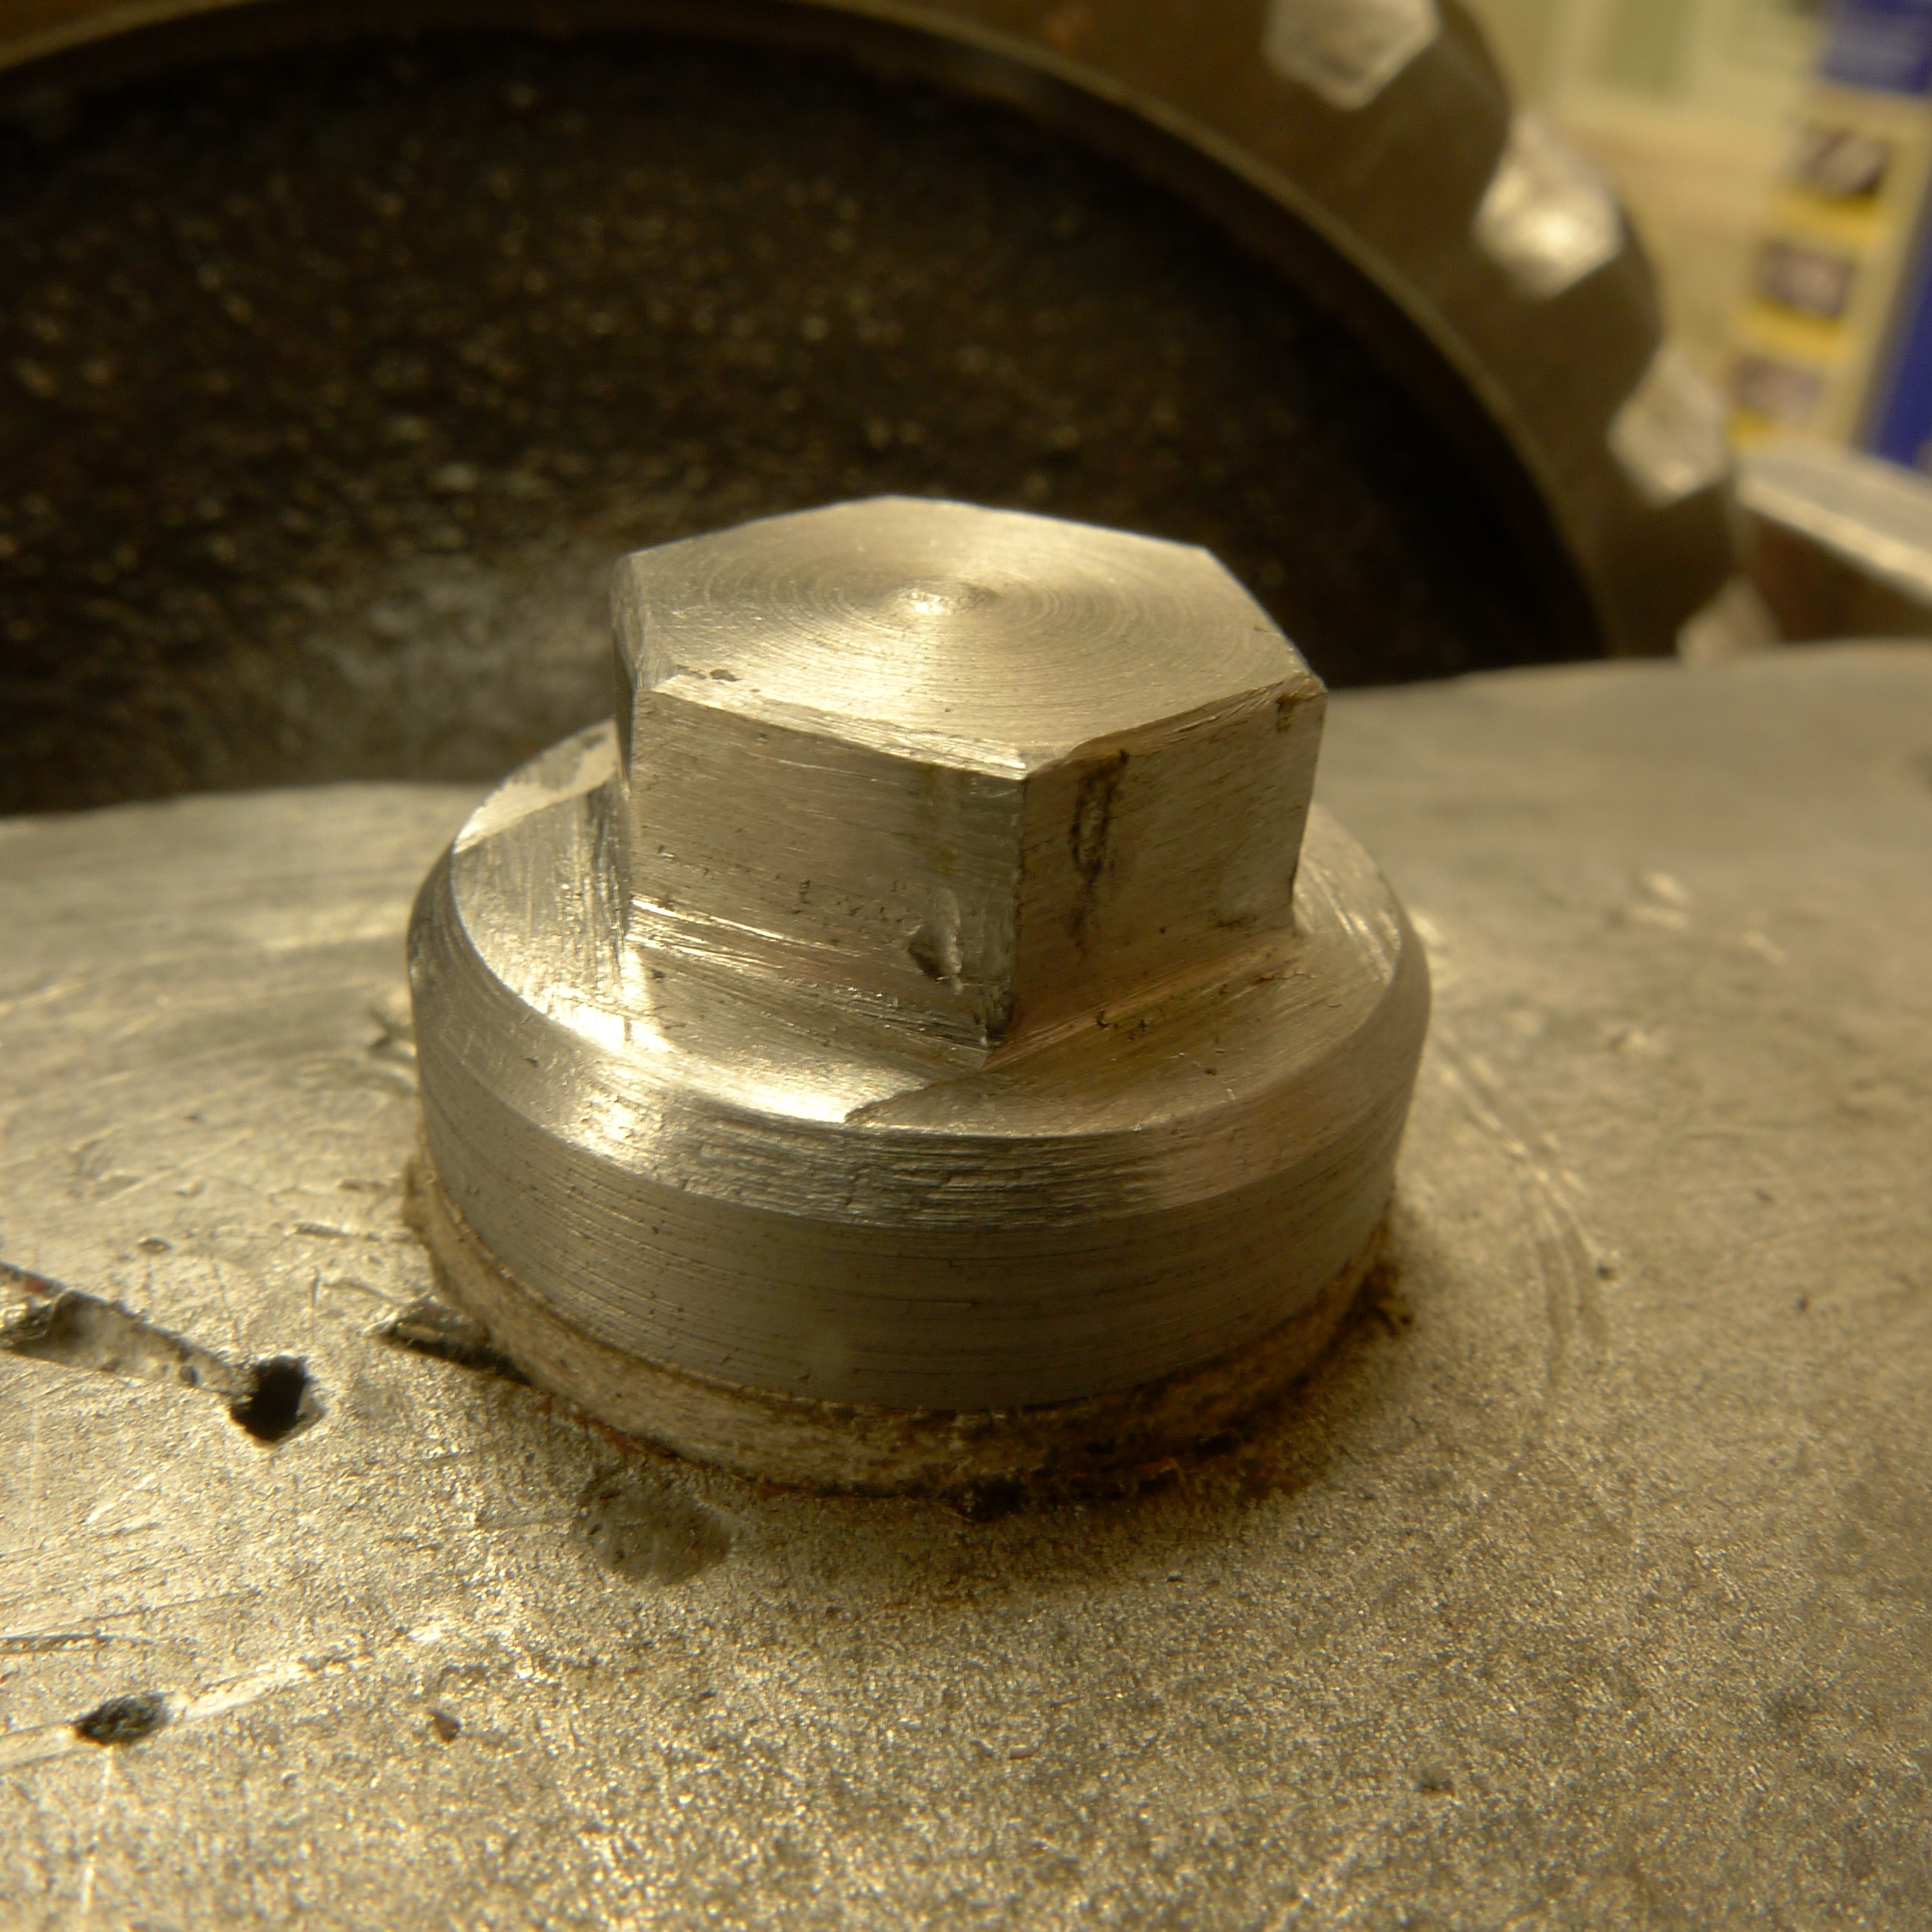
Find a decent fibre washer that’s a snug fit and then screw the bolt in place, protruding through the bush. Mark the bolt where it protrudes through the bush, remove, and saw off the excess plus a couple of mm. The photo shows the new bolt protruding through. You can see the amount of thread that will be holding the bush.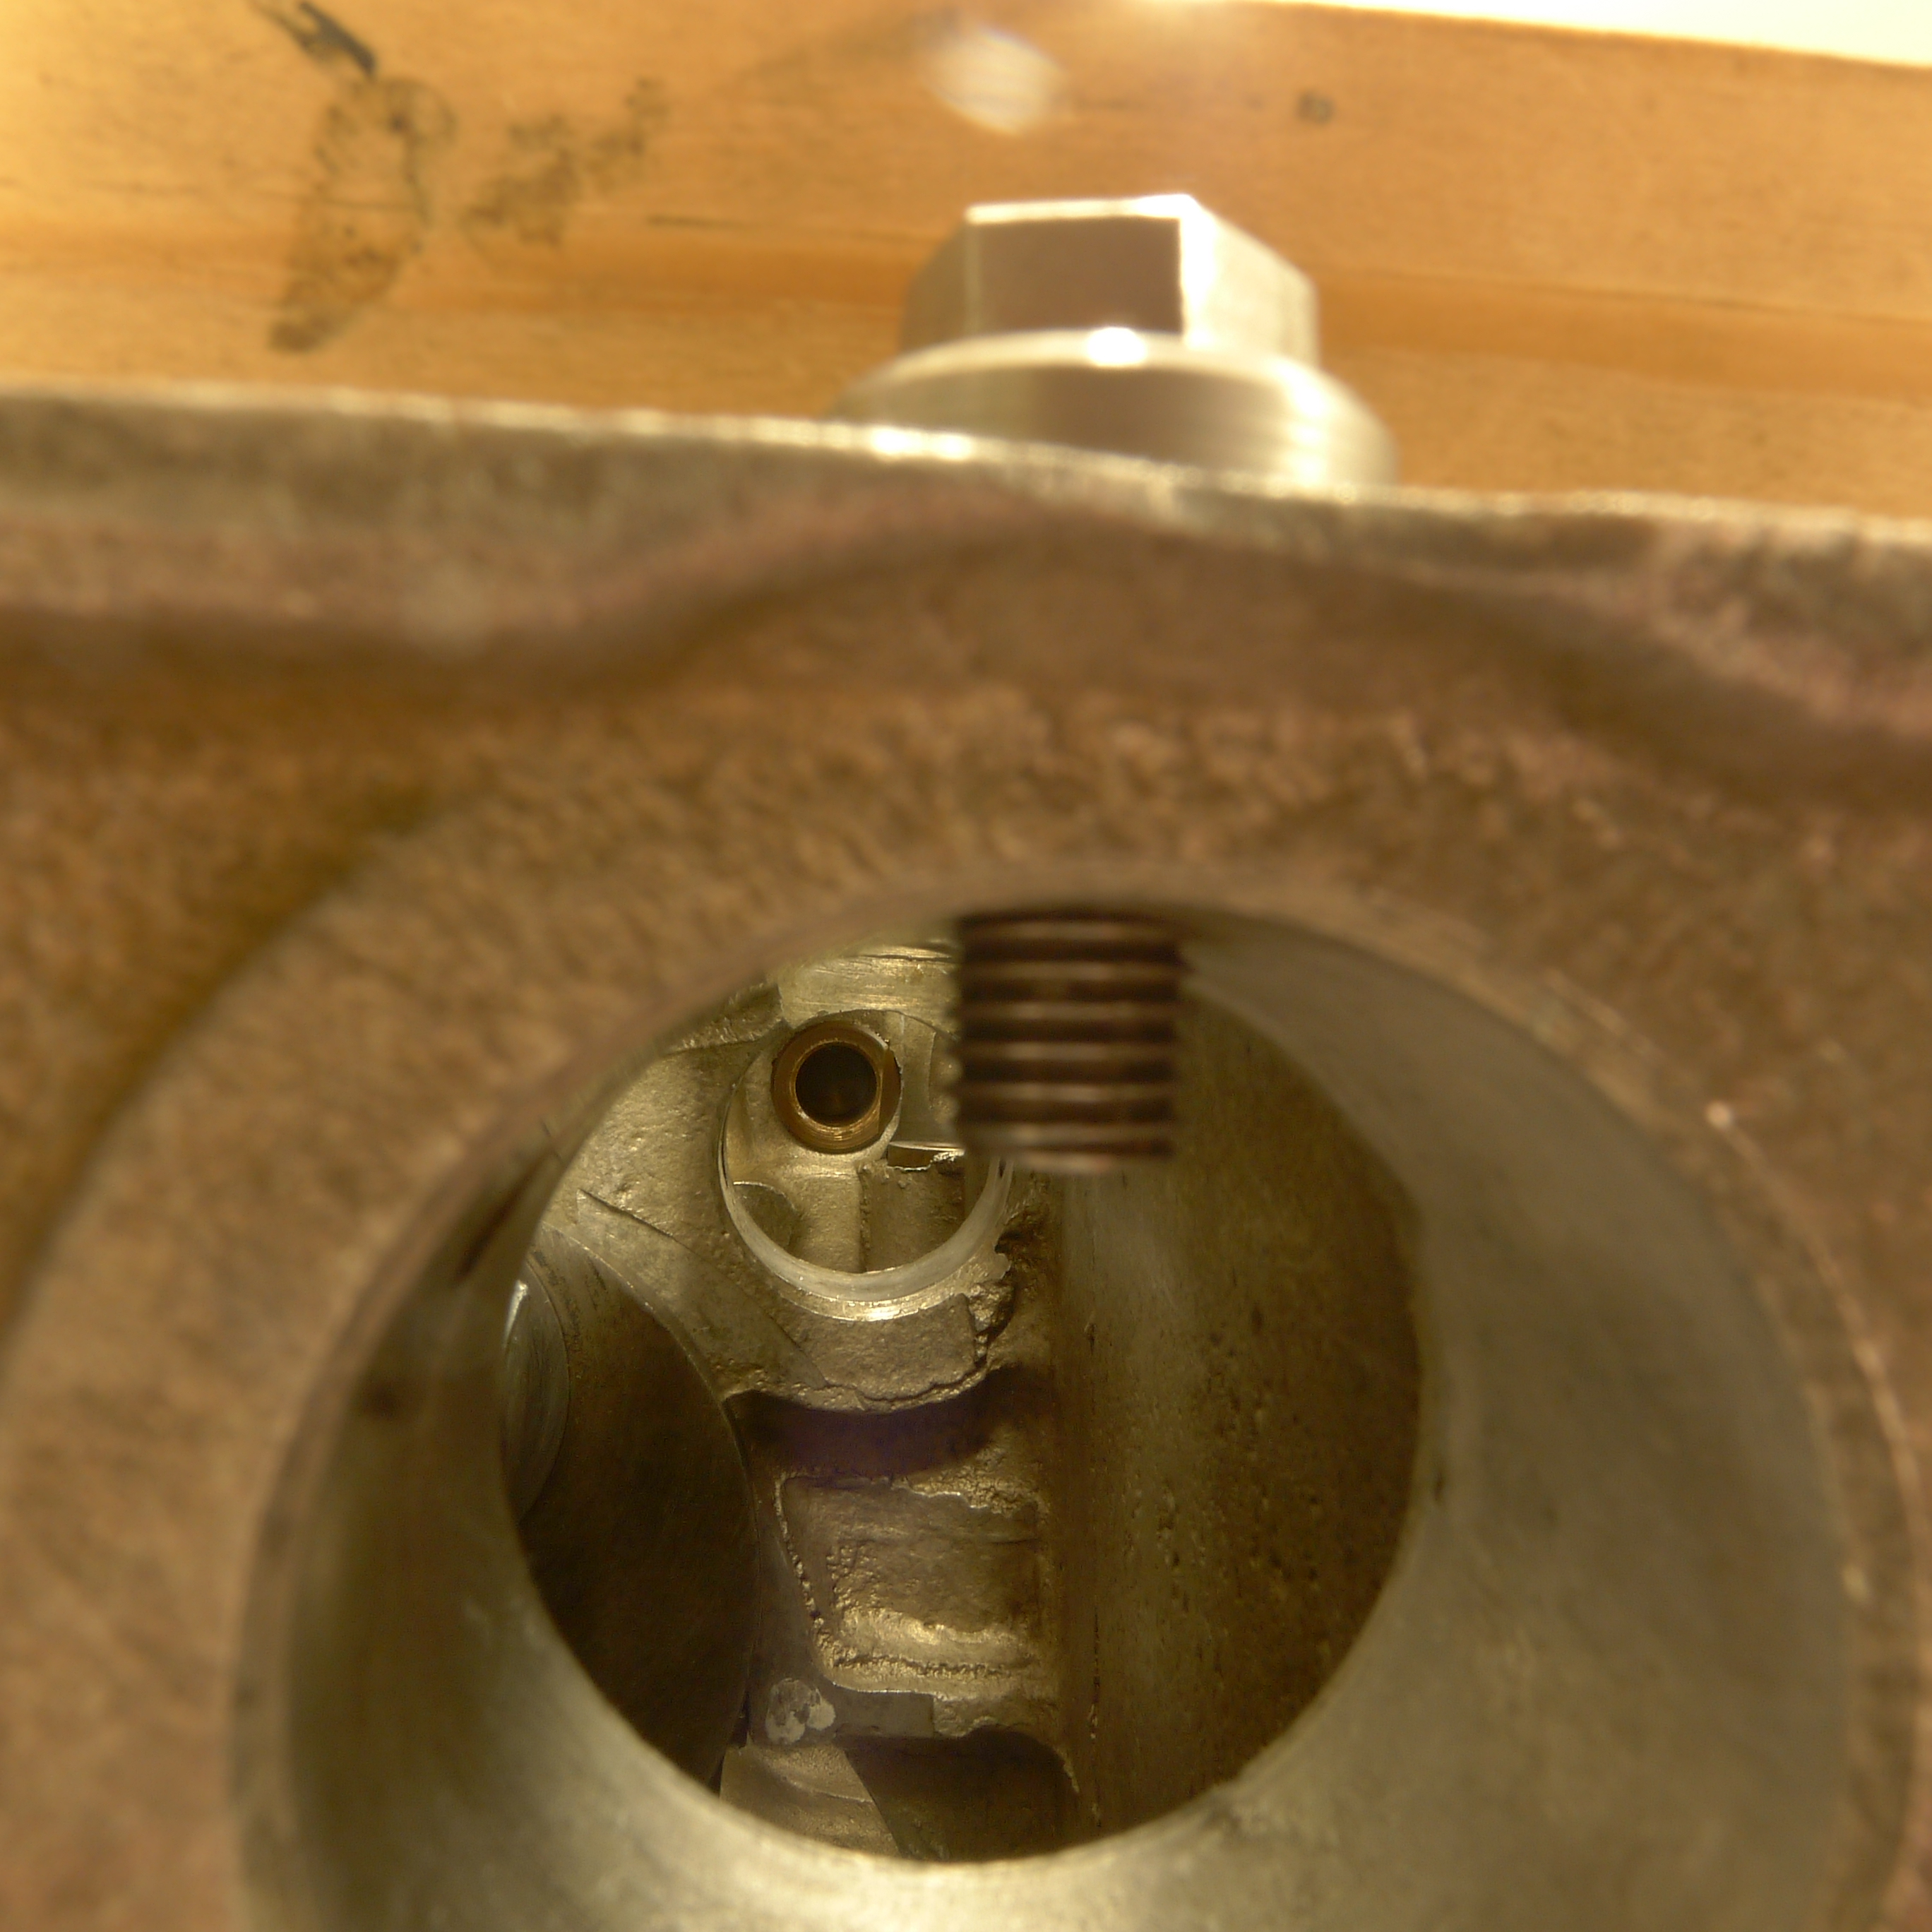
The last thing you want is to tighten the bolt on to the camshaft! Carefully remove any burrs that may have occurred inside the bush when drilling and tapping through and ensure it turns freely on the shaft. You can see the threaded hole in the photo – don’t get confused with the oil hole. 
Now tighten the timing gear back on to the camshaft with the bush in place, not forgetting the woodruff key, until you have the 0.002” clearance.Refit the whole lot back in the crankcase ensuring the new threaded hole lines up, and with a tiny drop of Loctite thread sealant near the top of the bolt, (you don’t want any leaking in to the bush) tighten the bolt down. You’ll now have a rock solid bush and the required 0.002” clearance.
Peter Lawson.

You must be logged in to post a comment.